Table of Contents
A jardin potager sur paille is a vegetable garden grown in straw bales instead of soil.
It offers benefits like no tilling, better moisture retention, and fewer weeds.
This method works well for urban gardeners, beginners, and those with poor soil.
You need to condition straw bales for 10-14 days before planting.
Best plants include leafy greens, tomatoes, peppers, and herbs like basil.
Regular watering and fertilizing keep plants thriving.
Design ideas include geometric layouts and companion planting for beauty.
Question | Answer |
|---|---|
What is a jardin potager sur paille? | It's a vegetable garden grown in straw bales instead of soil. |
Who should try straw bale gardening? | Urban gardeners, beginners, and people with poor soil or mobility issues. |
How do you prepare straw bales for planting? | Condition them with water and nitrogen for 10-14 days until they cool. |
What plants grow best in straw bales? | Leafy greens, tomatoes, peppers, radishes, and herbs like basil. |
How often should you water straw bale gardens? | Water daily, especially in hot weather, to keep bales damp. |
What is a jardin potager sur paille and its key benefits
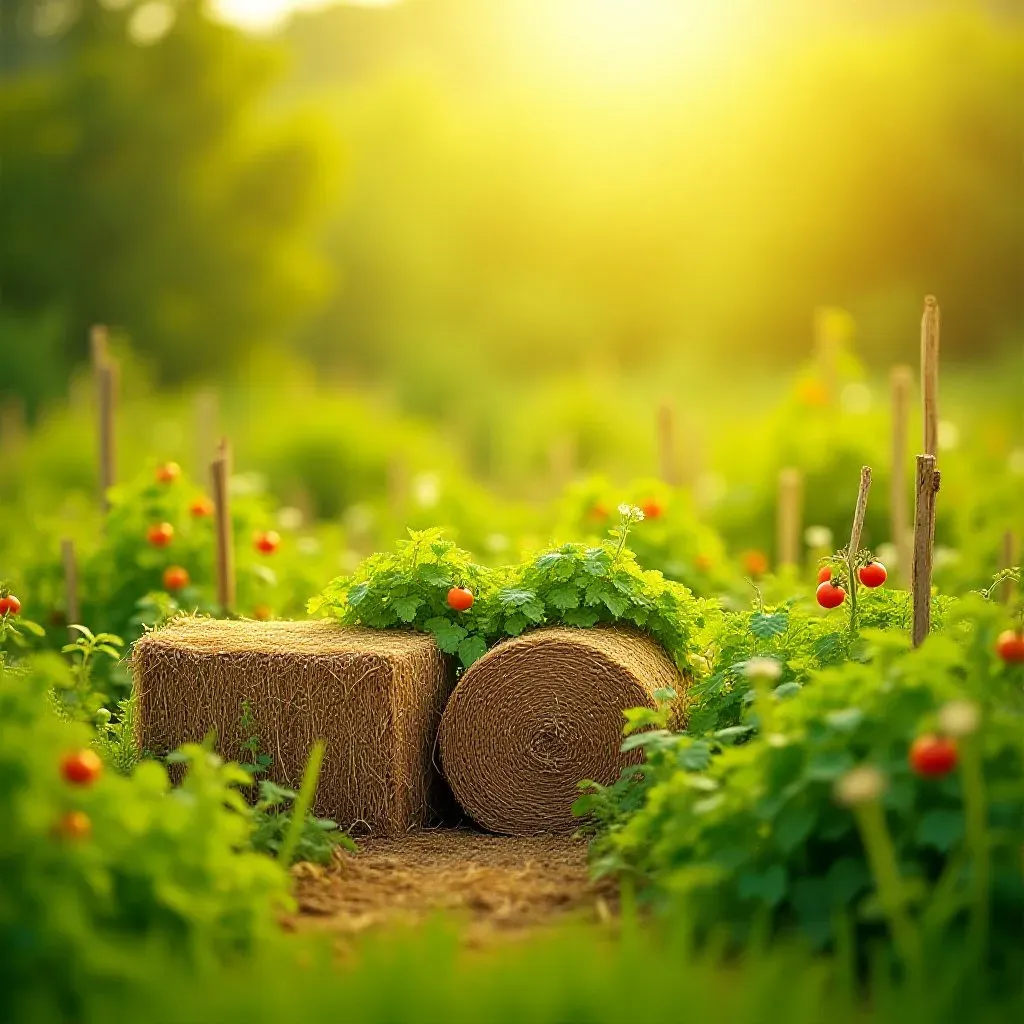
A jardin potager sur paille is a vegetable garden grown directly in straw bales instead of traditional soil beds. This method combines French potager kitchen garden traditions with modern sustainable practices.
Straw bales act as both the container and growing medium. As the straw decomposes, it creates a nutrient-rich environment for plant roots. This technique is ideal for urban gardeners, those with poor soil, or anyone seeking a low-maintenance organic gardening solution.
Key Benefits of Straw Bale Gardening
Benefit | Explanation |
|---|---|
No tilling required | Eliminates heavy soil preparation work |
Better moisture retention | Straw holds water efficiently, reducing irrigation needs |
Warmer root zone | Straw insulates roots for earlier spring planting |
Fewer weeds | Straw naturally suppresses weed growth |
Reduced pests | Elevated bales minimize slug and snail damage |
Accessible gardening | Raised height reduces bending, ideal for seniors |
Sustainable practice | Straw decomposes into compost for future gardens |
Who Should Try Straw Bale Gardening
- Urban gardeners with limited space or concrete surfaces
- People with poor quality or contaminated soil
- Beginners looking for simpler gardening methods
- Gardeners with mobility issues or back problems
- Those interested in organic, no-dig gardening approaches
The method works particularly well for growing various vegetables and herbs. It creates ideal conditions for plants that benefit from good drainage and warm roots. Many gardeners find they get better yields with less effort using this technique.
Step-by-step guide to setting up your straw bale garden
Step 1: Choosing the Right Straw Bales
- Use wheat, oat, or barley straw - avoid hay which contains weed seeds
- Select organic straw when growing edibles to avoid chemical residues
- Ensure bales are tightly bound and free from mold or rot
- Standard bale size is approximately 14" x 18" x 36"
Step 2: Conditioning the Straw Bales (10-14 Days)
Conditioning prepares the bales for planting by starting the decomposition process. Follow this schedule:
Day | Action | Temperature Check |
|---|---|---|
1-3 | Soak bales thoroughly with water daily | Keep damp but not waterlogged |
4-6 | Add nitrogen-rich fertilizer (blood meal, compost, or urea) | Internal temp should begin rising |
7-9 | Reduce nitrogen, continue watering | Temperature peaks at 120-150°F |
10-14 | Water normally, check temperature | Ready when cool to touch |
Step 3: Planting Your Straw Bale Garden
- For seedlings: Create small holes in bale, add compost, insert plants
- For seeds: Spread thin layer of compost on top, sow seeds directly
- Spacing: Follow seed packet instructions but plant slightly closer than in soil
- Depth: Keep seedlings at soil level to prevent suffocation
Step 4: Initial Watering and Care
Straw bales dry out faster than soil, especially during the first week. Water daily until plants establish. Use liquid organic fertilizer every 2-3 weeks to maintain nutrients as the straw decomposes.
Common Setup Mistakes to Avoid
- Never skip the conditioning phase - plants won't thrive in raw straw
- Avoid overwatering which causes rot instead of decomposition
- Don't use hay bales - they introduce weed seeds
- Ensure proper nitrogen levels during conditioning
Best vegetables and herbs for successful straw bale gardening
Straw bale gardening works exceptionally well for many vegetables and herbs. The warm, well-draining environment helps plants thrive with fewer soil-borne diseases.
Top Performing Vegetables for Straw Bales
Vegetable Type | Best Varieties | Why They Excel |
|---|---|---|
Leafy Greens | Lettuce, spinach, kale, Swiss chard | Shallow roots love the moisture retention |
Root Vegetables | Radishes, carrots (short varieties), beets | Loose straw allows easy root expansion |
Fruiting Plants | Tomatoes, peppers, cucumbers, zucchini | Benefit from warm roots and good drainage |
Climbing Plants | Pole beans, peas, small squash varieties | Perfect for trellises on bale sides |
Excellent Herbs for Straw Bale Gardens
- Basil - Thrives in warm conditions, perfect for bale edges
- Parsley - Enjoys consistent moisture straw provides
- Cilantro - Grows quickly in nutrient-rich decomposing straw
- Chives - Compact growth habit ideal for small spaces
- Oregano - Drought-tolerant once established
Plants to Avoid in Straw Bales
Some plants don't perform well in straw bale gardens:
- Large squash varieties - need more space and nutrients
- Corn - heavy feeder requiring more nutrition
- Potatoes - better suited for loose soil or containers
- Large root vegetables like parsnips - need deeper growing medium
Companion Planting in Straw Bales
Maximize your straw bale garden by planting compatible species together:
- Tomatoes with basil - improves flavor and deters pests
- Lettuce with chives - natural pest control
- Radishes with carrots - radishes mature first, loosening straw for carrots
- Cucumbers with beans - vertical growth saves space
Essential maintenance tips for thriving straw bale plants
Watering Requirements
Straw bales dry out faster than traditional soil. Water daily during hot weather, especially in the first few weeks. Check moisture by pushing your finger into the bale - it should feel like a damp sponge.
- Water in morning to reduce evaporation
- Focus water at base of plants
- Use soaker hose for efficient watering
- Increase frequency during heat waves
Fertilizing Schedule
Time Period | Fertilizer Type | Frequency |
|---|---|---|
Early Growth | Liquid organic fertilizer | Every 2 weeks |
Mid Season | Compost tea or fish emulsion | Every 3 weeks |
Fruiting Stage | Phosphorus-rich fertilizer | As needed |
Weed and Pest Control
Weeds are rare but remove any manually. For pests:
- Slugs/Snails: Use beer traps or copper tape around bales
- Aphids: Spray with soapy water or introduce ladybugs
- Caterpillars: Hand pick or use organic BT spray
- Rodents: Keep area clear of debris
Seasonal Maintenance
Extend your growing season with these tips:
- Use row covers for early spring or late fall protection
- Add extra straw mulch around plants in winter
- Rotate bale positions annually to prevent disease
- Monitor bale decomposition - add support if needed
End-of-Season Care
After harvest, compost the straw bales. They break down into rich humus perfect for future gardens. Spread decomposed straw as mulch or incorporate into soil beds.
Design ideas for creating an aesthetic potager sur paille
Geometric Layout Patterns
Traditional French potager designs use symmetrical geometric patterns. Arrange straw bales in these formations:
- Square or rectangular grids for formal appearance
- Circular patterns with central focal point
- U-shaped designs against walls or fences
- Spiral patterns for small spaces
- Diagonal arrangements for visual interest
Companion Planting for Beauty and Function
Edible Plant | Ornamental Companion | Benefits |
|---|---|---|
Tomatoes | Marigolds | Deters pests, adds color |
Lettuce | Nasturtiums | Edible flowers, pest control |
Cabbage | Calendula | Bright flowers, beneficial insects |
Carrots | Chives | Purple flowers, pest repellent |
Vertical Elements and Structures
Incorporate vertical gardening to maximize space and visual appeal:
- Trellises for climbing beans and cucumbers
- Obelisks for peas and small squash
- Arbors for creating shaded areas
- Vertical herb gardens on bale sides
- Hanging baskets between bales
Pathway and Border Designs
Create functional and beautiful pathways between bales:
- Gravel paths for drainage and neat appearance
- Wood chip pathways for rustic charm
- Brick or stone borders for formal look
- Living edges with thyme or chamomile
- Solar lighting along pathways for evening appeal
Color and Texture Combinations
Mix plants for visual interest throughout seasons:
- Combine purple basil with silver thyme
- Pair red lettuce with green kale varieties
- Mix feathery carrots with broad-leaf chard
- Alternate flowering herbs with vegetable plants
- Use colorful Swiss chard as border plants